Thursday 19 December 2013

costings

final estimated costing for the shoots I conducted are:


Still life:


Portrait shot:

Grand total for that shoot = £613.95 with pay to photographer of £515.95


Wednesday 18 December 2013

posing hints and tips "workshop"

We were given a hand out for posing hints and tips, I gave this handout a brief read and feel I understand what it is trying to teach.  We never got round to shooting any images in this style, for reasons I cant remember. All the basics are explained in this guide and I fully agree with it.


To go to the next post click here

Studio lighting - recreation

I decided to use techniques from the simple lighting work work shop and do an actor head shot.


 Here is the image I wanted to recreate:

and here is my image:


I first had to analyse the lighting as we had done in the workshop. Simply look at the image, and use what information I can gather to decide where the light were positioned. In this image, the whiteness of the face must mean that the light used was close to the face.As this shot was of a real person, you can see the catch lights in the eyes which can help betray a lighting set up. You can see that the catch lights appear in the top of the pupils, but the way the light is lighting to forehead and leaving a shadow under the neck and nose you can assume that the light is placed above the subject pointing diagonally downwards. The shadows fall downwards so the light must be directly above the subject. There are shadows under the neck, nose and slightly under the brow. The hair appears shiny and glossy, with a slight halo effect (I had to figure this out by trial and error when shooting).
I guessed that only one light had been used, and possible reflectors had been placed either side for fill.

When I did my lighting I placed a medium softbox above my model pointing diagonally down directly in front. I then had two white boards either side to provide fill on the lower jaw and beneath the cheekbones.

I had a black background approx 1.5m away and had the model wear dark clothing.

When taking the photograph I used a long lens at 80mm to avoid wide angle distortion, this combined with a wide (ish) aperture (f/9) provided shallow enough depth of field to blur the background, but allow enough depth of focus throughout the face.


Here is my basic lighting diagram:


My model has red hair and the girl in the original photograph has dark brown hair, so it was impossible to get exactly the same darkness on my image in the hair tones.

In Photoshop I then used the 'burn' tool to darken the clothing and blend it with the background completely. I took this photo in colour so I could have more control over the tones when converting to black and white.  This helped me get the bright white skin tones, and a glossy look in the hair.


I then used the eye dropper tool to select a black tone from the background, and then used the crop tool to create a similar crop to the original photograph.


To go to costings click here

Double Indemnity film and Exhibition.

We went on a trip with college to help with our studio lighting brief. We had been tasked to look at film noir lighting as it used minimal lighting (using only one or two lights) and is a specialist area of lighting and photography. This helps to satisfy some criteria of the unit.

We went to the Corner House Gallery in Manchester to look at their exhibition 'Double Indemnity' inspired by the film with the same name.

We watched the film in class before visiting so we could better understand the work.

The film is about an insurance salesman who is seduced by the wife of one of his clients who persuades him to trick her husband in to signing a life insurance policy before murdering him to claim £200,000 dollars, making sure the death appears accidental. The film is called double indemnity after a double indemnity clause in the insurance policy where the insurers pay out double the amount if the policy holder dies in certain accidental circumstances.

The film is a film noir classic, and as such is typical of film noir style of lighting, and camera angles.


 This means that the film is quite shadowy and dark,  often filmed from a fly on the wall perspective. This makes the viewer feel as if they are in on a secret and draws them in to the story.

The film was quite predictable but upon reading a little about it, the film seems to have been one of the earlier of its kind and set the precedent for film noir films to follow which is why the story may seem so familiar and feel predicable.

The exhibition was mildly interesting, the best pieces in my opinion were that of Sophie Calle and Ming Wong.

Sophie Called hired a private detective to follow her and document her movements. The private detective didn't know he was following the woman who hired him. (this image was taken from the Corner House Gallery Manchester website.)


The photos were displayed accompanied by the notes of the detective written in typewriter font. The black and white photos adhered to the film noir style, contrasty and slightly ominous in some shots. The notes of the detective provided context and commentary to the images  which drew me in as a viewer. I like this work the best.


Ming Wongs' film AFTER CHINATOWN was a film noir style film in which he played both male and female roles. The film was slightly surreal but still engaging and enjoyable to watch.


To go to the next post click here

Thursday 12 December 2013

Peugeot Pinhole Shots

Here I will post the images I have taken from the camera, it will be updated as and when I shoot.


This is what the car looks like set up:


I place my pinhole on the window and tape it using black electricians tape.
The front sheet is placed over the windscreen and under the wiper and the excess is trapped in the side doors.
The back sheet is draped over the back and trapped inside the back door and held to the car using magnets.
The side pieces are trapped in the doors and the rest is held to the car by magnets.
To fit the windscreen sheet I have to remove the radio arial so the sheet can lie flat and be stuck to the car using magnets.
I then cut a hole in the side where the pin hole is and tape the edges of the hole to the window/pinhole (thats the brown patch on the sheet on the driver window).

It looks messy but it works.

I then take a light reading and calculate the exposure time just before I get in the car as after that I am sealed in the dark. Before I take the suggested reading I take a reading at ISO 100 and take a shot using my digital camera to make sure the meter is working correctly.

On the above occasion I was on my own and so had to climb in the car via the boot, when I have someone assisting me I can just open the door and get in and they can seal up the side once I'm in.

Once inside it is quite dark thanks to the black out sheets, but still needs some more blocking. I use cardboard painted black and cut to size to further cover the windows and reduce internal reflection.

 windscreen


 side window and back window


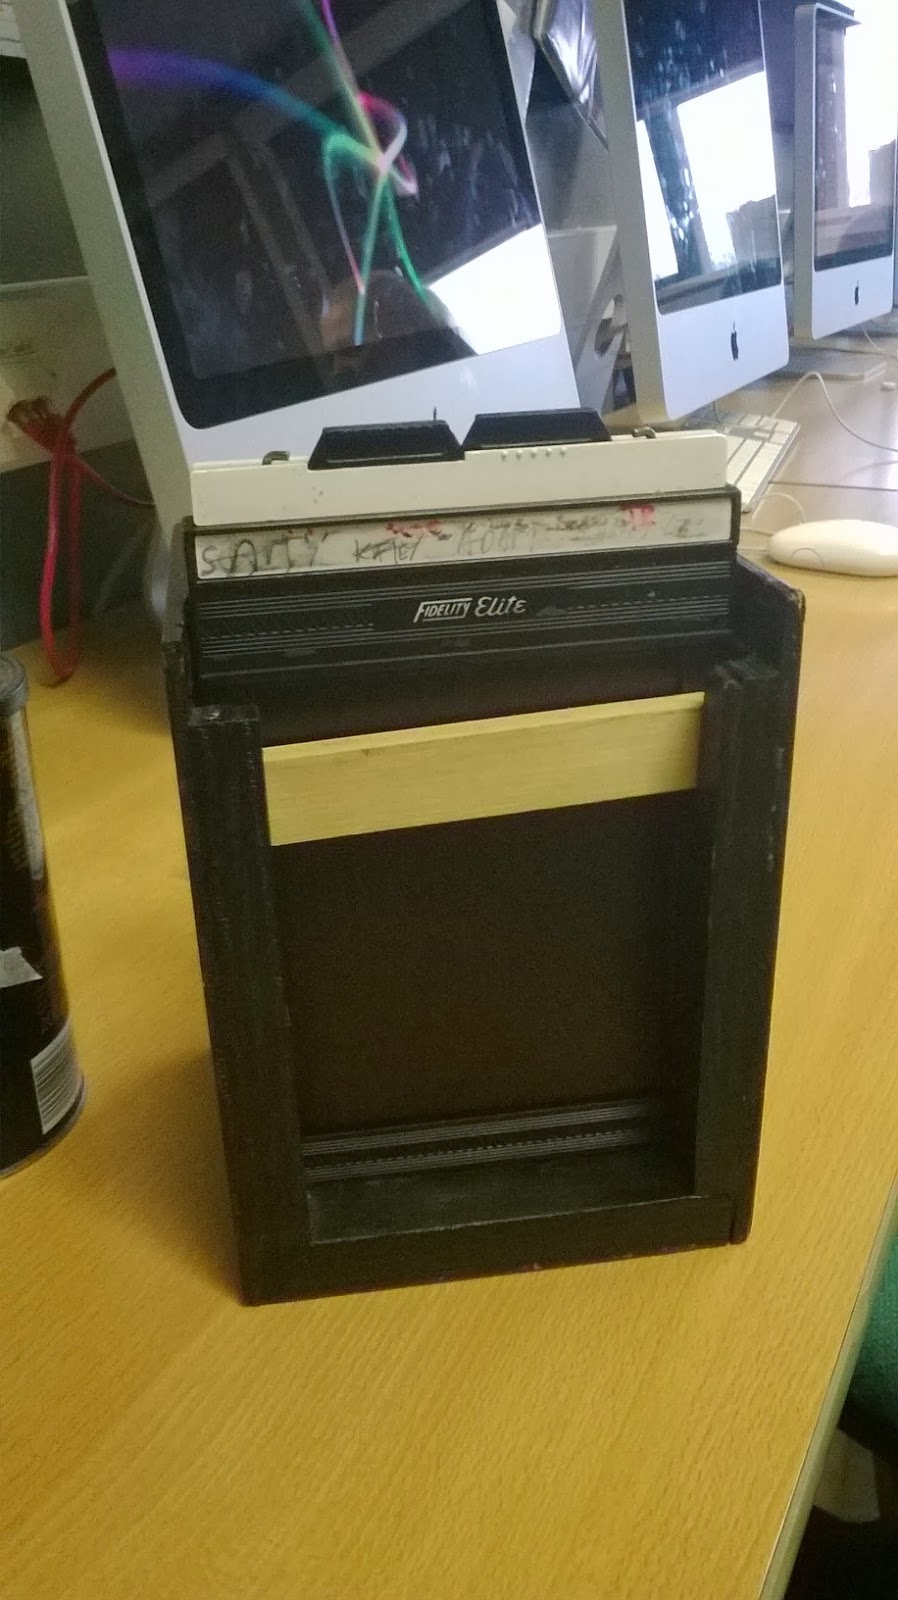
In the car I have a tripod canvas stand, a 20x24 box to act as a holder, a black 20x24 negative paper bag, my 20x16 paper in card sleeve with black bag, a torch, and tape should I need to secure any areas once inside.

I then set the tripod stand up facing which ever side I have the pin hole on like this:


The 20x24 box acts as a holder.

The box also had a 20x24 white card insert to stop the paper that used to be in the from being folded. I use this as a canvas to pick up the image through the pin hole, I can then line up my stand as best as I can see before I get my paper out.

Once ready I make sure the tripod is secure and the pinhole is unobstructed, and get a comfortable seat either in the back or in the front passenger seat. I then get out one sheet the 20x16 paper. As it is dark I have to feel the paper to see which side has the emulsion on it and then place it in the holder. The paper is held in place using a bulldog clip. I then wait for the calculated time. Once exposed I remove the clip and the paper, and place it in to the 20x24 black bag with the 20x24 card insert. This goes in the 20x24 box, wrapped in a spare blackout sheet and then clipped in place to make sure that the paper stays in a dark space until I can develop it.


11/12/13 - Scouthead, Oldham. f/562 pinhole, roughly 4 min exposure give or take 15 seconds.


This is the first shot I have produced, when enlarged (click on the image) you can see the focus is slightly soft, I am probably a bit off with my focal length and I know my pinhole isn't exactly 1mm! I love the pylons, and have always enjoyed following the wires from the back seat on long stretches of motorway as a child. I have managed to get 6 in this photo in a line, I didn't think that many would be visible! I also like the way the hills softly fade away in to the haze, but are still easy to pick out from one another. if you look carefully you can see Hartshead pike in the distance which is in one of my pinhole box images. The photograph also has a range of tones from black to white which I am very happy about. Unfortunately the photo is blown out where the sun is and so detail has started to be lost on the first pylon and the wires almost disappear over the sun. Ideally the photos would be pin sharp, but this is hard to get right when the focal length as cannot be totally precise with my measuring equipment.

I think I might experiment with a larger aperture and use a lens to focus the image, although no longer pinhole, it will still be along the same lines. The larger hole will bring down exposure time dramatically, and the lens will help me get much sharper photographs. 

Here is the second Image I have produced using the car technique. The first attempt at this photo meant I had to sit in the car for 2 hours in the deserted upper levels of the car park. When i got to college I had put the paper in back to front and so no image had been taken! I returned to take it again and this time I used a large aperture making the focal length f/4 and used a lens from a magnifying glass to focus the image. The exposure time for this image was just 30 seconds.


I had to hold the paper a lot closer to the paper as the magnifying glass has a short focal length of itself which I don't know how to work out. I couldn't get the tripod stand I had used perviously to stay upright on its own in the position it had to be in and so I had to hold on to it to keep it in the right position. This means that the photo is not as sharp as it could have been. Other factors affecting the sharpness are that the magnifying glass only focuses the very centre of the image and loses focus quickly towards the edge. This causes blurring which then makes the rest of the page overexposed as it is hit by lots of diffused light instead of a measured amount of focused light.

Another issue I had with the image is the contrast between the dark inside and the light outside. I have overexposed the image but it was necessary to make the interior visible, however this has caused the light from outside to blow out.

I think I have pushed the contrast of this paper to its limits with this shot. And I think by taking both a landscape and an urban image I have also tested the range of abilities of this film to a small degree.

Now I have a clearer understanding of what works and what doesn't I feel more confident photographing in the future using this method.

Overall I am happy with my pinhole shots and think I have produced some good images for the brief using a range of pinhole techniques and cameras to produce my work.


As my final 3 images to submit I will submit the two car images and the pinhole box photo of heartshead pike.


Thursday 5 December 2013

Pinhole camera tests

To add to the matchbox pinhole and 5x4 pinhole I went out at took some more pinhole photographs in preparation for my extra large format pinhole experiment.

I took a selection of pinhole cameras out on Thursday 28/11/12 and took a few shots.

These are the cameras I used:


The 5x4 camera had an f/stop of f/190 (95mm/0.5mm), the 10x8 paper box camera had an aperture of f/230 (184mm/0.8mm).

As the aperture gets smaller, the exposure time must increase to compensate. This is known as reciprocity. For example, if you were working at f/5.6 at 1/60sec, if you DOUBLED the aperture to f/4, you would need to HALVE your exposure time to 1/125sec. If you HALVED your aperture to f/8, you would need to DOUBLE your exposure time to 1/30sec. This is known as reciprocity, as one changes so must the other to maintain the same exposure.

In this case I was using f/190 and f/230, and so had to increase my exposure time much further.
Below is a chart showing how the exposure would increase as the aperture gets smaller, using a starting point of 1second.

   1s         2s        4s         8s        16s       32s        64s       128s      256s

f/22     f/32    f/45    f/64    f/90    f/128     f/180    f/256     f/360


You can see that f/190 and f/230 fall between f/180 and f/256.  f/190 is approx. 1/7th of the way between f/180 and f/256, and f/230 is approx. 5/7ths of the way.

Below is the photograph I took with the 10x8 cardboard box camera:


When using the 10x8 box camera the light reading at f/22 was about 4 seconds. I went with 3.5 seconds for a slight under exposure because even though I was trying to make the sky to blow out, i wanted to still get a some detail in of the tower. The sky was already bright and I had metered towards the ground anyway and so the sky would have been blown regardless,.
I worked out an exposure of 4.5 minutes. In this instance I forgot to correct for reciprocity failure by doubling my exposure time as I had been taught, but if I hadn't, this image would have been overexposed as reciprocity failure was hardly present so I'm glad I didn't.

With the 5x4 camera I did account for reciprocity failure, and just about got an image as again it wasn't necessary. As these cameras were new to me I didn't know whether or not reciprocity failure was present at all. Here is the photograph taken with this camera:


In this photo, the projected image diameter is smaller than the paper, on the box camera the longer focal length allowed for the image circle to expand wider than the paper, but in the 5x4 camera the focal length to aperture ratio wasn't enough. This left a circular image on the paper with a soft edge, this is the edge of the pin hole.


With pin hole cameras like the ones above there is obviously no display of what your image is going to look like in the end. the small hole makes it difficult to judge what will actually be captured I did my best guess of where it was pointing and with a bit of look and a bit of good judgement I was right both times!

This experiment showed me that I need to be precise with my focal length and aperture to get a sharp image, get full coverage of the paper, and to be able to calculate the exposure time correctly. I will make a mock up camera the intended pinhole and focal length to check sharpness at the calculated focal length of 562mm.

When photographing in the car I should be able to see the projected image well enough to adjust the focal length before exposure. This is  a benefit of being able to be inside the camera.

Next is a camera made to test the suggested aperture and focal length by the calculator on mrpinhole.com for my car pinhole. This camera has a focal length of 564mm and a pin hole of 1mm. I will use this camera to test for reciprocity failure. Built from two cardboard boxes, the focal length is 564mm (2mm too long, but I couldn't shave off 2mm accurately enough) the pinhole is made using a section of a 330ml drinks can and is 1mm wide.

I painted the inside using black pva paint to minimise internal reflection. In the car I will cover the windows on the inside as the reflection from the glass could adversely affect the photographs.


Here is the image created by the camera. I used standard reciprocity calculations, doubling for each aperture stop. The photo I a little underexposed as I calculated up to f/512 and stopped, I did not adjust for the extra 10% up to f/564. I will do this when taking my final photographs. The exposure time was 85 minutes (1h 25mins) 93 minutes would have been the optimum time. The exposure time was so long due to it being a very overcast day. I will conduct my final pinhole photographs on a sunny day to bring the exposure time down significantly.
The test showed that I didn't need to adjust for reciprocity failure with this aperture/focal length combination, which means I don't have to sit in the dark in the car for an extensive amount of time as I had feared.


There are some light leaks, and the photo is more significantly underexposed in the bottom right corner, but this is due to the flimsiness of the boxes that I used. Some parts bent and allowed light in, others bent and blocked light out. The overall sharpness is quite impressive, you can see some texture in the brick, and it is possible to pick out individual blinds in the middle window so there is sharpness in the details. I am happy with how this has turned out and feel much more confident in using my car. 


to go to the next post click here

studio lighting - photographing glass workshop

As part of our studio lighting brief we were to complete several workshops on specialist lighting. One of these workshops was on photographing glasses.
We were given a hand out that explained the basics of photographing glass to achieve results like this:

http://www.havens.co.uk/royal-scot-sandringham-pair-large-wine-glasses-16799p.html
 Set of Large Wine Glasses (16799)
Set of Large Wine Glasses (16799)

There are two standard ways to photograph glass, one is on a white background with black details as above, the other is on a black background with white details. To do this, you photograph your glass against a lightbox. To create black details, you place the glass in front of the lightbox, with black blocking cards either side. To create a black background with white details, you place the glass in front of the lightbox, but this time put black blocking card behind the glass leaving the light areas either side of the glass.

I forgot to take photographs of my set up and so have made a simple example of the set ups in Photoshop. (click the images to enlarge them)


Here are the photos I created using this technique:


This next image was created by simply inverting the white background photograph:


I think the white background shots have much grater clarity than the black background shots.
I used a wide aperture on these images (f/4) this blurred out some marks on the light box, and more importantly, kept only the front of the glass in focus. If I had a less shallow depth of field, the detail on the back of the glass would be more visible and would create a distracting and confusing image to look at. This way the cut glass is visible and it is easy to see the pattern on the glass.

After taking these images my tutor the suggested using coloured transparent plastic to give a different effect to the glass:


This gave an interesting effect and could be useful as colour can associate with a brand or a particular drink.
After looking at a few websites selling glasses online, I think my photographs are easily on par with many I saw.


Set of Large Wine Glasses (16799)


Set of Large Wine Glasses (16799)
I also played with adding colour to the glass in Photoshop, this could be useful to make an image appear slightly coloured for the same reasons as I mentioned before. I used the quick select tool to select the background areas of the photos and make a template, I then coloured this in blue and orange to add coldness or warmth to the image:


You might use a cooling filter to create the impression of the glass being ice like, and the warming filter to give an air of luxury.

The glass workshop was easy to follow, and when done correctly produced some good results, this is the second attempt at the task, I found it easier to work alone and got much better results when I was allowed to work my own way.


To go to the next post, click here