I took a selection of pinhole cameras out on Thursday 28/11/12 and took a few shots.
These are the cameras I used:

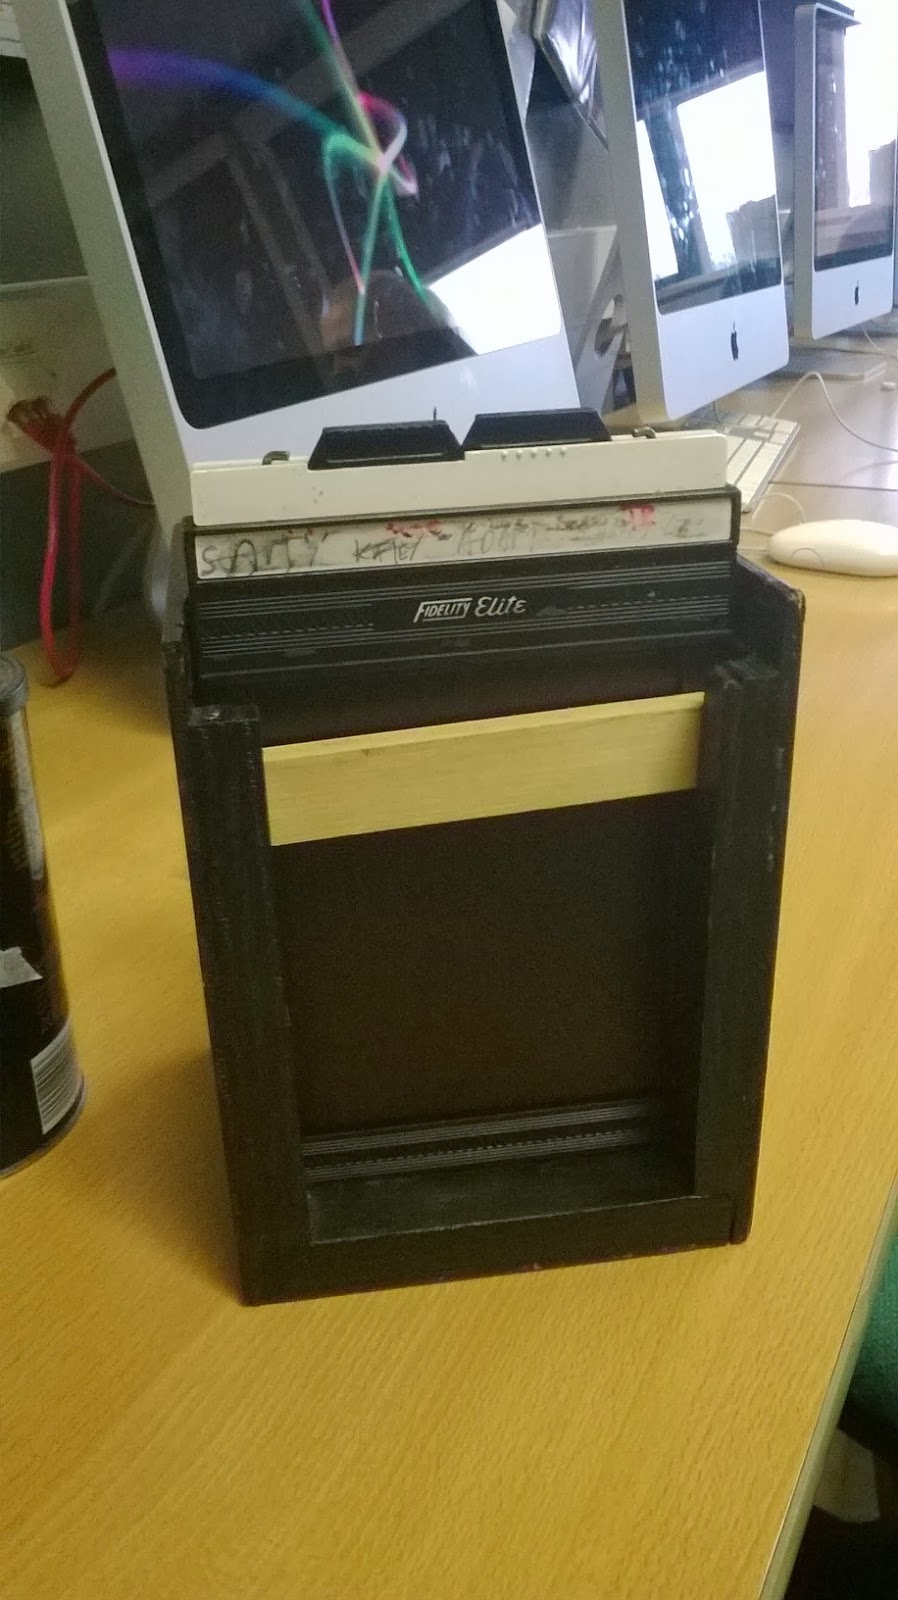


The 5x4 camera had an f/stop of f/190 (95mm/0.5mm), the 10x8 paper box camera had an aperture of f/230 (184mm/0.8mm).
As the aperture gets smaller, the exposure time must increase to compensate. This is known as reciprocity. For example, if you were working at f/5.6 at 1/60sec, if you DOUBLED the aperture to f/4, you would need to HALVE your exposure time to 1/125sec. If you HALVED your aperture to f/8, you would need to DOUBLE your exposure time to 1/30sec. This is known as reciprocity, as one changes so must the other to maintain the same exposure.
In this case I was using f/190 and f/230, and so had to increase my exposure time much further.
Below is a chart showing how the exposure would increase as the aperture gets smaller, using a starting point of 1second.
1s 2s 4s 8s 16s 32s 64s 128s 256s
f/22 f/32 f/45 f/64 f/90 f/128 f/180 f/256 f/360
You can see that f/190 and f/230 fall between f/180 and f/256. f/190 is approx. 1/7th of the way between f/180 and f/256, and f/230 is approx. 5/7ths of the way.
Below is the photograph I took with the 10x8 cardboard box camera:

When using the 10x8 box camera the light reading at f/22 was about 4 seconds. I went with 3.5 seconds for a slight under exposure because even though I was trying to make the sky to blow out, i wanted to still get a some detail in of the tower. The sky was already bright and I had metered towards the ground anyway and so the sky would have been blown regardless,.
I worked out an exposure of 4.5 minutes. In this instance I forgot to correct for reciprocity failure by doubling my exposure time as I had been taught, but if I hadn't, this image would have been overexposed as reciprocity failure was hardly present so I'm glad I didn't.
With the 5x4 camera I did account for reciprocity failure, and just about got an image as again it wasn't necessary. As these cameras were new to me I didn't know whether or not reciprocity failure was present at all. Here is the photograph taken with this camera:

In this photo, the projected image diameter is smaller than the paper, on the box camera the longer focal length allowed for the image circle to expand wider than the paper, but in the 5x4 camera the focal length to aperture ratio wasn't enough. This left a circular image on the paper with a soft edge, this is the edge of the pin hole.
With pin hole cameras like the ones above there is obviously no display of what your image is going to look like in the end. the small hole makes it difficult to judge what will actually be captured I did my best guess of where it was pointing and with a bit of look and a bit of good judgement I was right both times!
This experiment showed me that I need to be precise with my focal length and aperture to get a sharp image, get full coverage of the paper, and to be able to calculate the exposure time correctly. I will make a mock up camera the intended pinhole and focal length to check sharpness at the calculated focal length of 562mm.
When photographing in the car I should be able to see the projected image well enough to adjust the focal length before exposure. This is a benefit of being able to be inside the camera.
Next is a camera made to test the suggested aperture and focal length by the calculator on mrpinhole.com for my car pinhole. This camera has a focal length of 564mm and a pin hole of 1mm. I will use this camera to test for reciprocity failure. Built from two cardboard boxes, the focal length is 564mm (2mm too long, but I couldn't shave off 2mm accurately enough) the pinhole is made using a section of a 330ml drinks can and is 1mm wide.
I painted the inside using black pva paint to minimise internal reflection. In the car I will cover the windows on the inside as the reflection from the glass could adversely affect the photographs.


Here is the image created by the camera. I used standard reciprocity calculations, doubling for each aperture stop. The photo I a little underexposed as I calculated up to f/512 and stopped, I did not adjust for the extra 10% up to f/564. I will do this when taking my final photographs. The exposure time was 85 minutes (1h 25mins) 93 minutes would have been the optimum time. The exposure time was so long due to it being a very overcast day. I will conduct my final pinhole photographs on a sunny day to bring the exposure time down significantly.
The test showed that I didn't need to adjust for reciprocity failure with this aperture/focal length combination, which means I don't have to sit in the dark in the car for an extensive amount of time as I had feared.

There are some light leaks, and the photo is more significantly underexposed in the bottom right corner, but this is due to the flimsiness of the boxes that I used. Some parts bent and allowed light in, others bent and blocked light out. The overall sharpness is quite impressive, you can see some texture in the brick, and it is possible to pick out individual blinds in the middle window so there is sharpness in the details. I am happy with how this has turned out and feel much more confident in using my car.
to go to the next post click here
No comments:
Post a Comment